Openers · Turkey Point
Photo-Eye Sensor Alignment or Replacement in Turkey Point
After a cold night the door stays open until the garage warms up.
In plain words
By the end of the visit you have a door that closes from every control and reverses the instant the beam is broken, a sensor pair mounted level at the right height with steady indicator lights, wiring that is secured and out of harm's way, and a written note of what was found and what was changed. The technician walks you through the two tests you can repeat monthly, points out which light is which, and leaves the opener's diagnostic chart where you can find it. It is a small job that puts a large piece of your door's protection back in service.
How the visit goesYou press the remote, the door drops a few centimetres, then climbs straight back to the top while the opener light blinks. Nothing is under the door. It has done this every evening this week.
Photo-Eye Sensor Alignment or Replacement
How the visit goes
Following the wire home
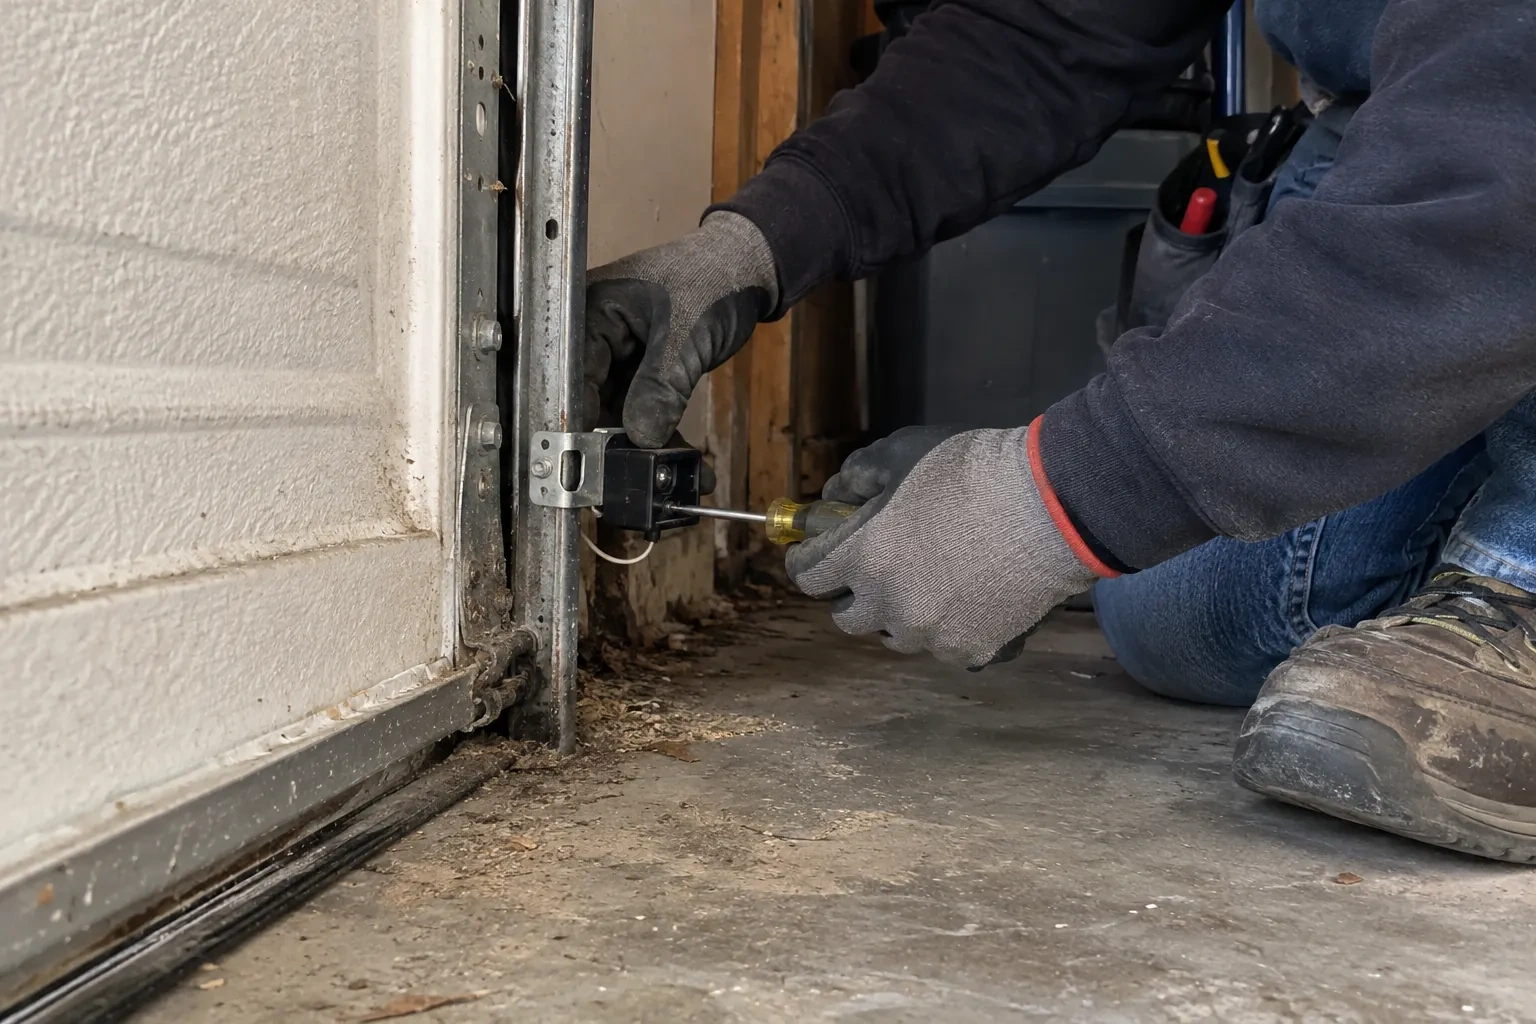
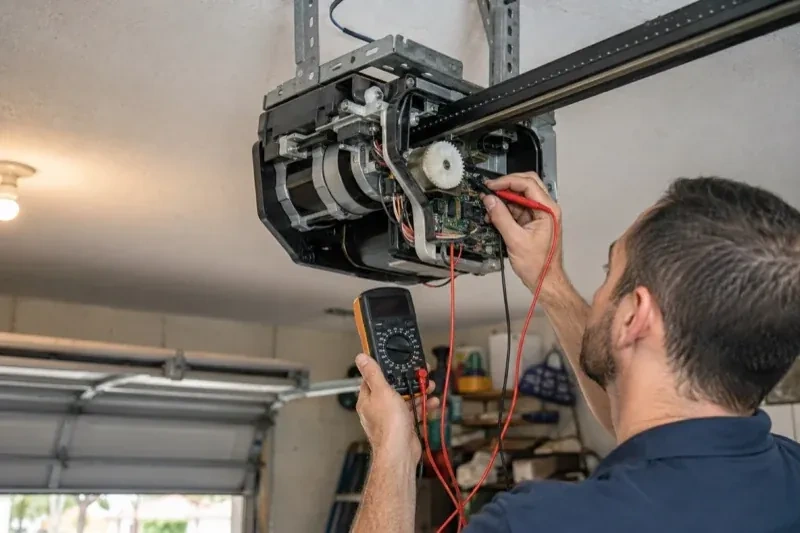
When the lights or the code point to the circuit, the low-voltage wire is followed from each sensor to the head unit. The technician looks for staples driven through the insulation, wire pinched behind a track bracket, sections chewed by mice, cuts where shelving or drywall screws went in, splices that have corroded, and terminals at the head unit that are loose or connected the wrong way round. A meter confirms continuity and polarity rather than guessing. Where the wire disappears into a finished ceiling, the readings at each end tell whether the hidden section is sound or whether a fresh run is the tidier answer.
Proving it with the two tests
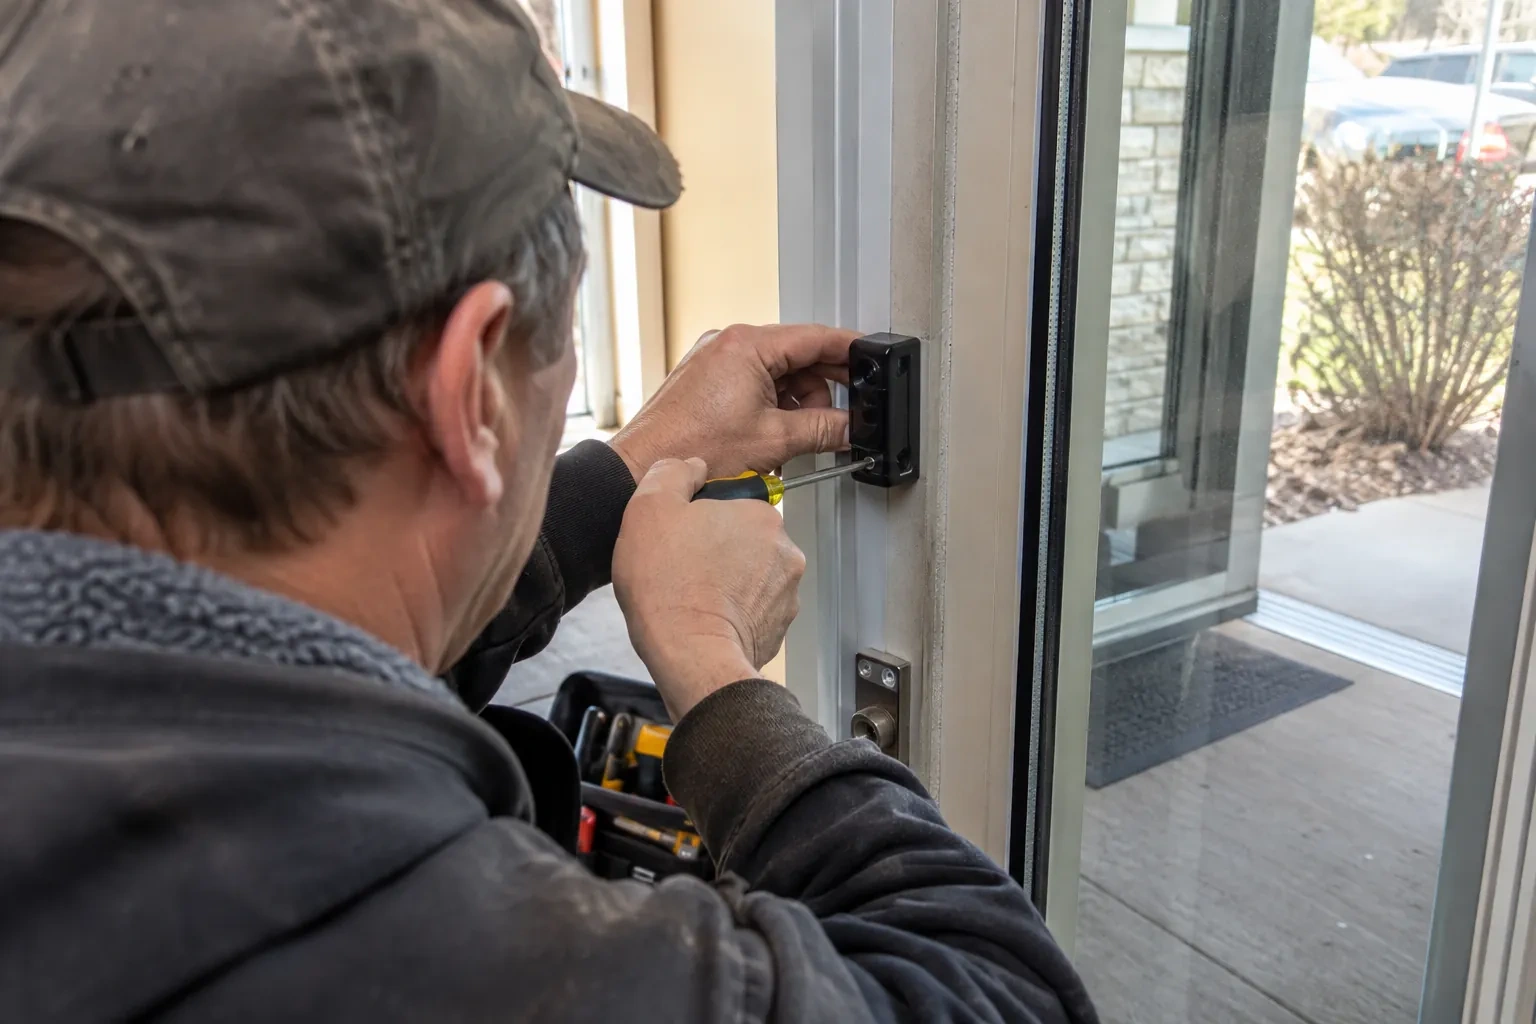
No sensor job is finished on a steady light alone. The door is closed from the wall control and from a remote, and while it is on its way down an object is passed through the beam; the door must stop and return to fully open. Then a 2x4 is laid flat on the floor under the centre of the door and the door is closed onto it; it must reverse on contact. Both are repeated, the opener's diagnostic light is confirmed clear, and any app or hub reporting a sensor code is refreshed. The customer watches the tests so the normal behaviour is seen, not described.
Wiring that stays put
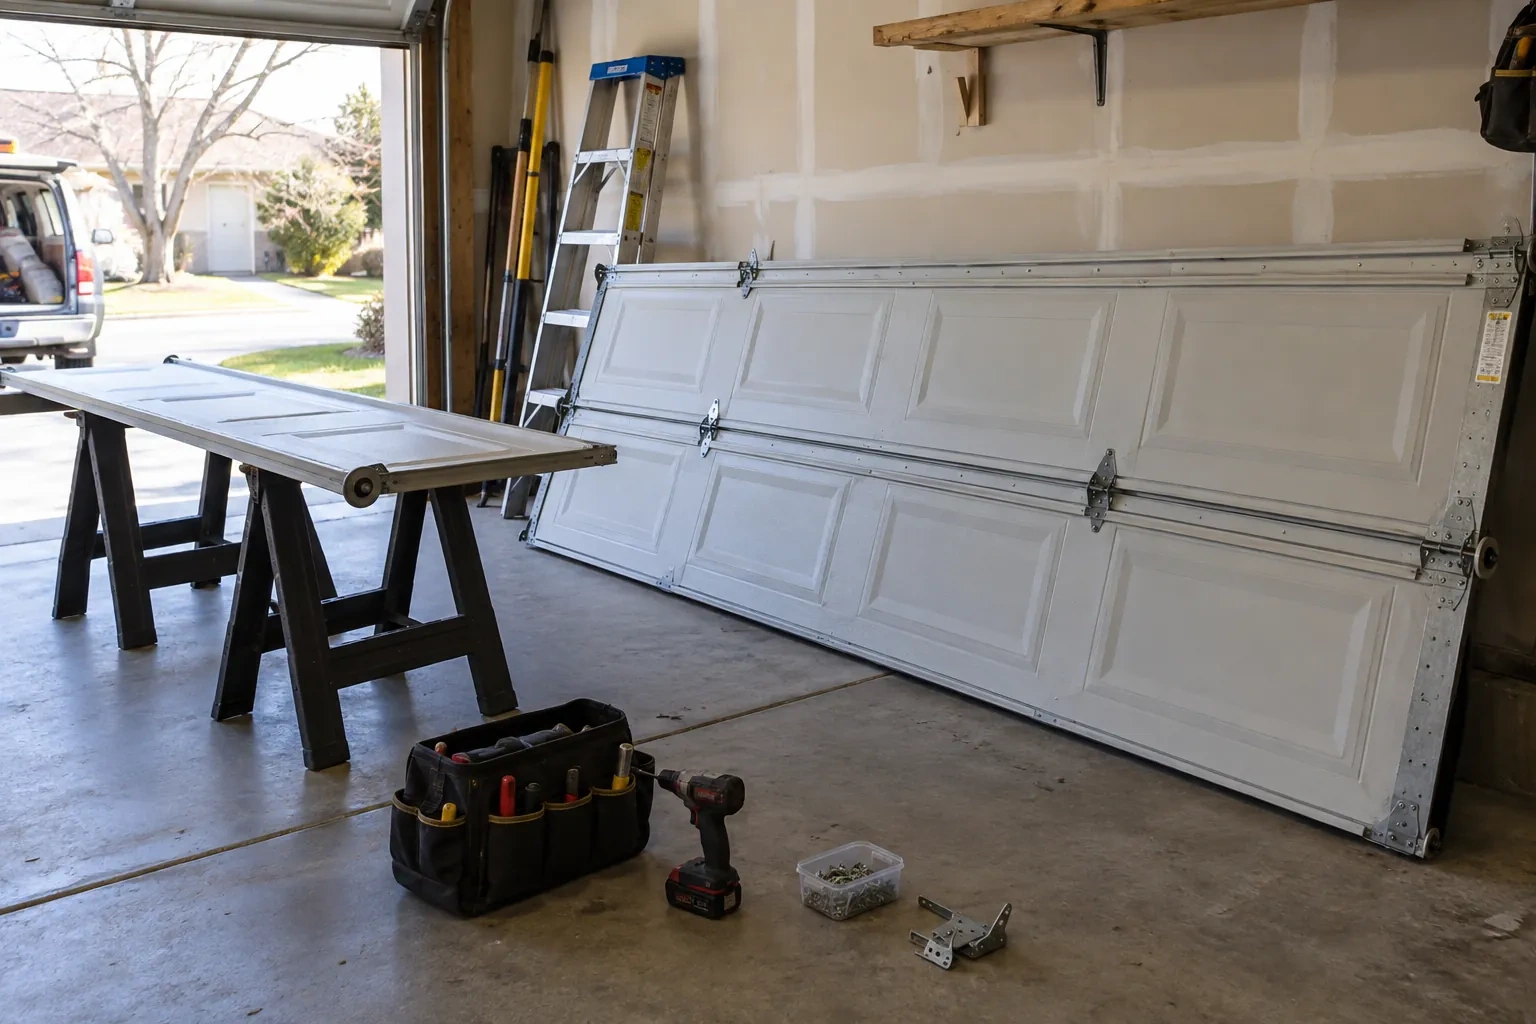
The wire between the head unit and the sensors has been secured along the ceiling and walls, clipped clear of the track and, where it was exposed, run inside a protective channel. Two things keep it that way. First, when anything is fastened to those walls or that ceiling, from shelving to a bike hook to drywall, look for the thin wire before driving a screw or a staple. Second, if mice have been in the garage, a chewed wire is a common sign, so a dark sensor light after a sighting is worth a look at the run. Either way, the sensor lights will tell you the moment the circuit is open.
Photo-Eye Sensor Alignment or Replacement
In the van
Insulated wire staples
Two-conductor low-voltage wire
Multimeter
Track-mount sensor brackets
Protective wire channel
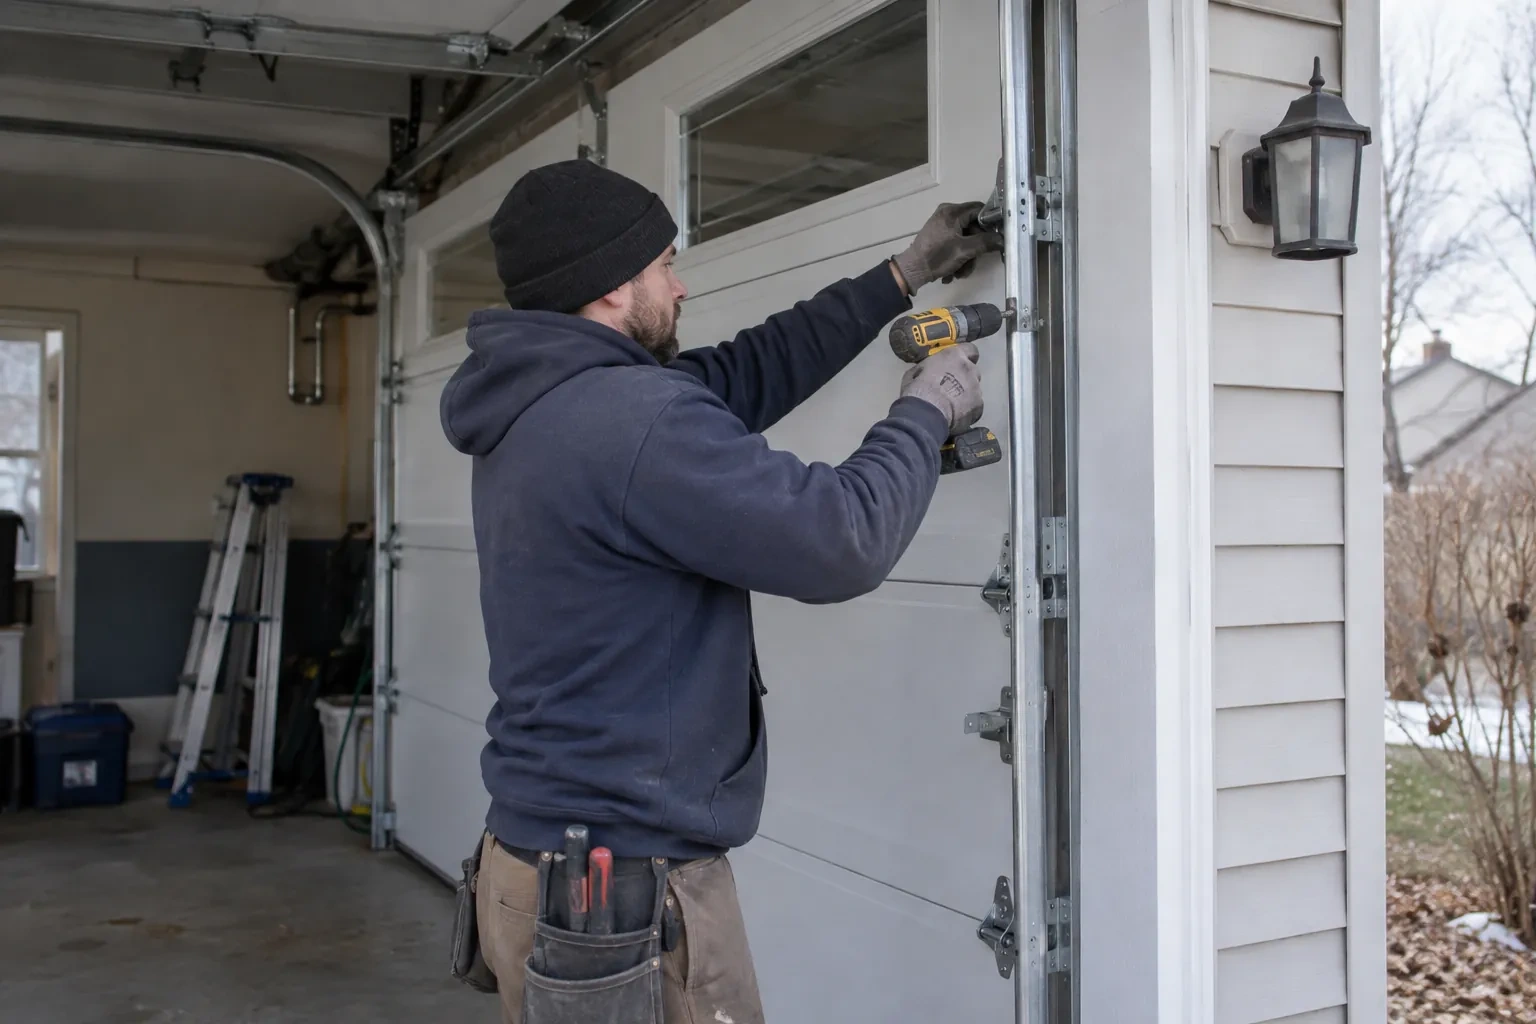
Photo-Eye Sensor Alignment or Replacement
What affects the quote
Force and travel adjustment alongside
If the reversing turns out to involve a travel limit set long or a force setting made in summer, adjusting and re-testing those settings is included as a small extra step.
An opener without a sensor circuit
Where the operator predates monitored sensors and cannot accept a pair, the quote changes shape into a modern operator with its own sensors, which is discussed as a separate decision rather than folded in.
Length and route of the wire run
A damaged section near a sensor is a short repair. A fresh run from the motor to both sides of the doorway takes longer, more so where the wire is buried in a finished ceiling.
What to have ready
- Can you see the thin sensor wire, and does any of it look pinched, cut or chewed?
- When you press close, does the door bounce back, sit still, or go down only with the wall button held?
- What make and model is on the opener's label, and roughly how old is it?
Photo-Eye Sensor Alignment or Replacement: questions
QuestionsWill the sensors need replacing or just aligning?
Most visits end in alignment, cleaning and bracket work, because the sensors themselves are hardy. Replacement comes into it when a lens has clouded or crazed, when the housing is split or holds water, an indicator stays dark with the wiring proven good, or the pair is from a different generation than the opener and is never recognised. The technician tests before choosing, so the parts list matches what the door needs.
The door closes if I hold the wall button. Is that a fix?
It is a built-in stopgap, not a repair. When the sensor circuit is not satisfied, many openers allow a close from the wall control only while the button is held, on the idea that a person standing there can see the doorway. Newer units drop that behaviour altogether and simply hold the door open. Either way the door is telling you the beam has failed, and a sensor visit puts remote closing back.
Can the sensors be mounted on the wall instead of the track?
Track-mounted clips are the preferred, manufacturer-recommended arrangement. A wall-mounted angle bracket is the next choice where the track sits far back from the opening or the clip keeps getting bumped; mounting to the concrete floor is kept as a last resort, used only when the sensor's own instructions allow it. The same rules apply: both sensors at a matched height no higher than about 15 cm, level, facing each other, with the wire secured. Wall mounting sometimes gives a cleaner beam line on older doors with unusual track layouts.
Related services
- Chain-Drive Opener RepairThe chain hangs in a loop under the rail and slaps against it on every cycle.
- Belt-Drive Opener RepairHalfway up, every single time, the door hesitates and there is a ratcheting sound from the motor head, then it carries on.
- Garage Door Opener ReplacementThe bedroom above the garage shakes every morning at six when the chain drive fires up.