Repairs · St. Williams
Garage Door Safety Inspection in St. Williams
Your toddler has discovered the wall button.
In plain words
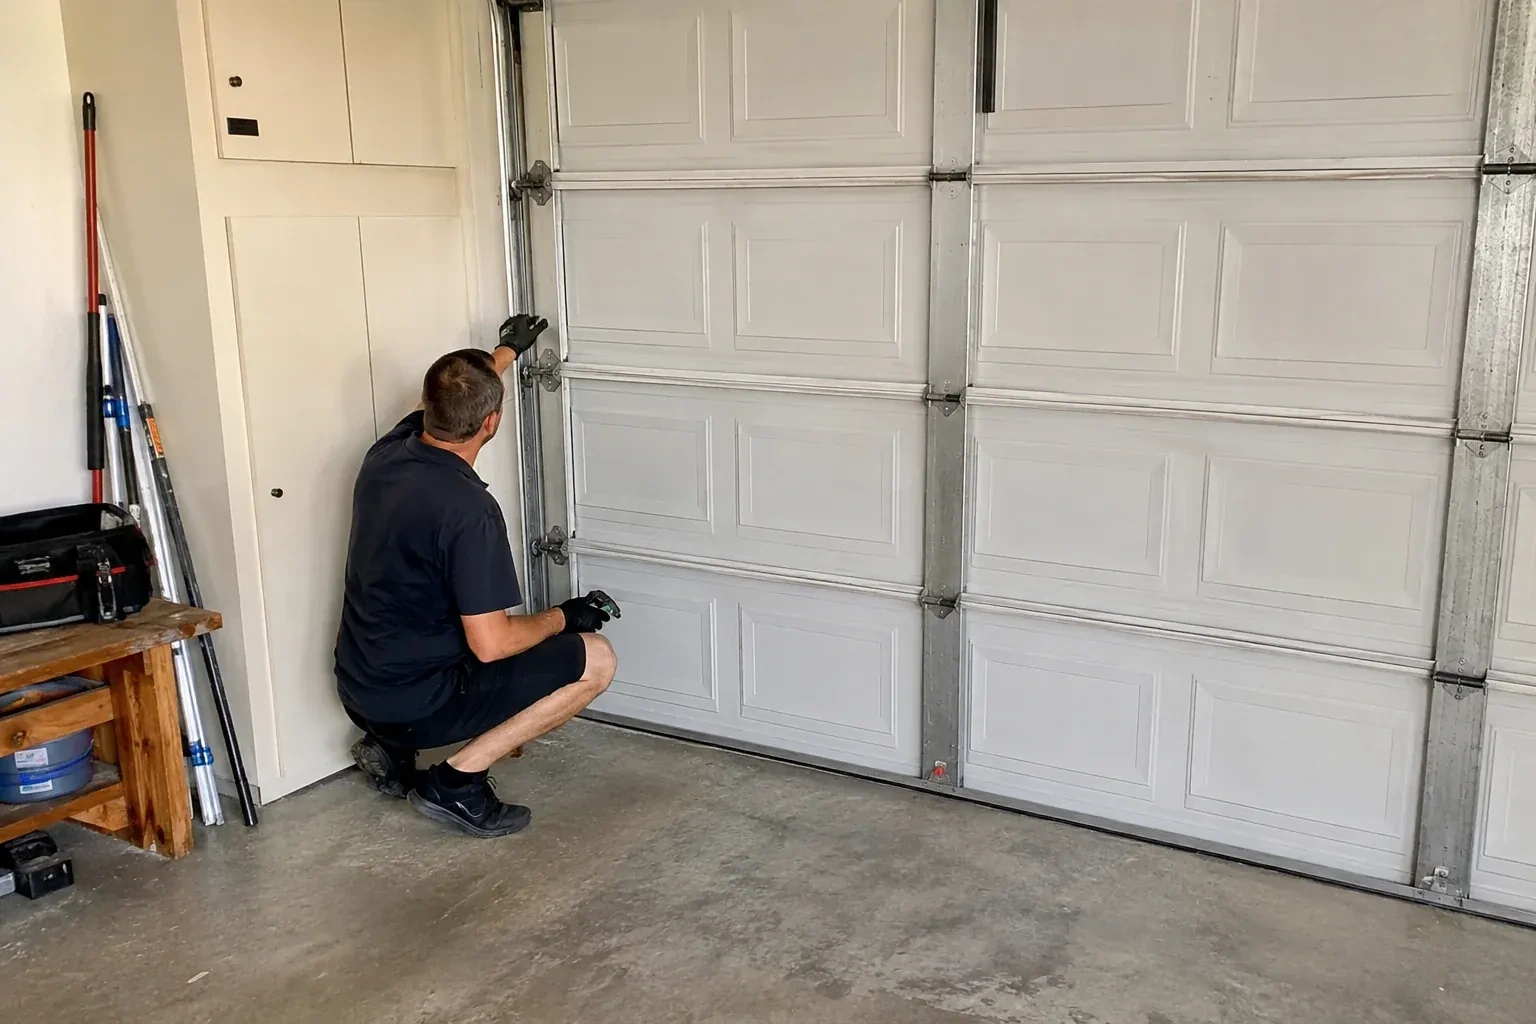
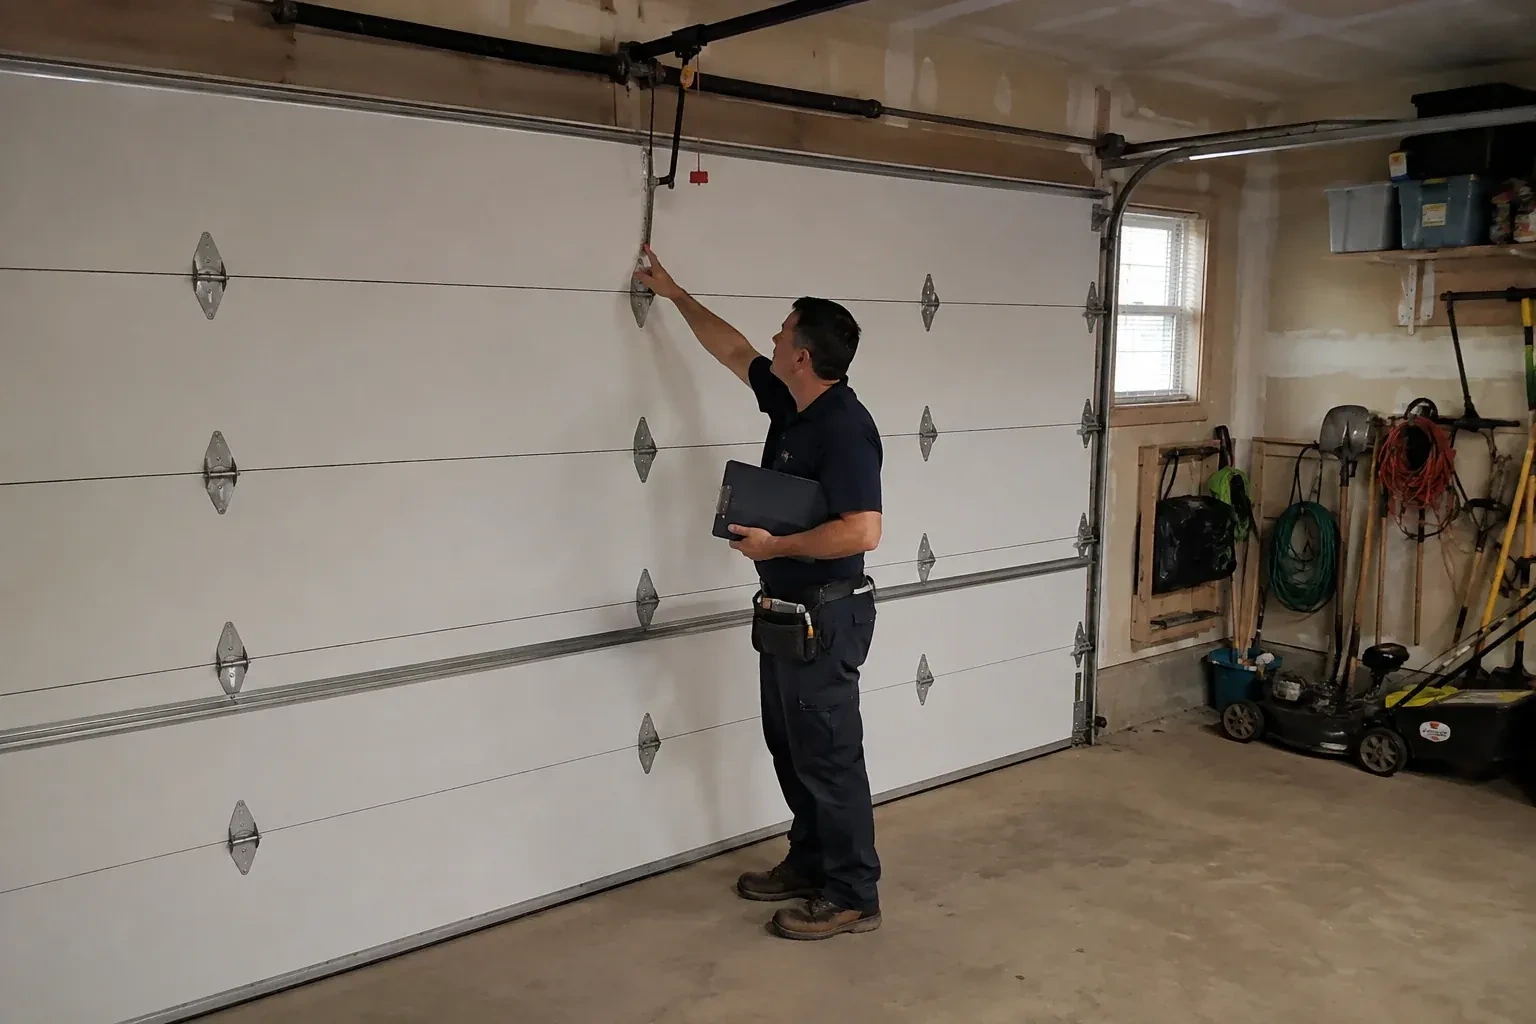
A garage door safety inspection is a systematic look at everything that moves the door and everything meant to stop it. The technician identifies the door and opener from their labels, then examines the sections, hinges, rollers, tracks, springs, cables, drums, brackets and seals, watches a full cycle, tests the door's balance by hand, and runs the reversal and photo-eye tests the opener manual calls for. Nothing tensioned is adjusted during the inspection. What you receive is a dated record of the door's condition, with anything that needs attention sorted by how soon it matters.
How the visit goesYour toddler has discovered the wall button. You want to know, from someone who checks these things for a living, that the door will stop and reverse if a small person is under it.
Garage Door Safety Inspection
How the visit goes
Putting a name to the door and the opener
The first thing the technician does is read labels. The door's model tag is usually on the inside of an end stile or the bottom section, and the opener's is on the motor head; between them they tell the technician the door's weight class, the lift hardware it was built with and the exact test procedure the opener maker publishes. That matters because reversal settings, photo-eye mounting heights and force limits differ between models and generations. Writing the model numbers down at the start also means the report is tied to a specific door, so the next person to look at it, years from now, starts from the same page.
Measuring and photographing what matters
A report that says only fine or worn is not much use next year, so the technician records numbers. Spring wire size, inside diameter and length on a torsion door, and stretch on an extension door; cable diameter and the condition of each bottom loop; the gap at the bottom seal along its length; the height of the photo eyes; the door's overall dimensions and the opener's model. Each finding, from a rusted bracket to a cracked roller, is photographed with the light on it. These measurements let the next inspection show what has changed and let a future repair be quoted from the record instead of a second visit.
Carrying the door through winter
The technician leaves you with the handful of habits that matter in a cold climate. Keep the threshold clear of packed snow so the door closes on the floor and not on a ridge of ice. On a mild day, wipe the salt off the bottom brackets, the lowest hinges and the bottom stretch of each cable, then give them a light mist of lubricant. Wipe the photo-eye lenses when the grime of a slushy week builds up. If the bottom seal freezes to the slab, free it by hand before running the opener rather than asking the motor to tear it loose. These take minutes across a season and spare the cables, the seal and the opener.
Garage Door Safety Inspection
In the van
Remote and keypad batteries
Work light and inspection mirror
Flat 2x4 test board
Silicone garage-door lubricant
Camera for findings
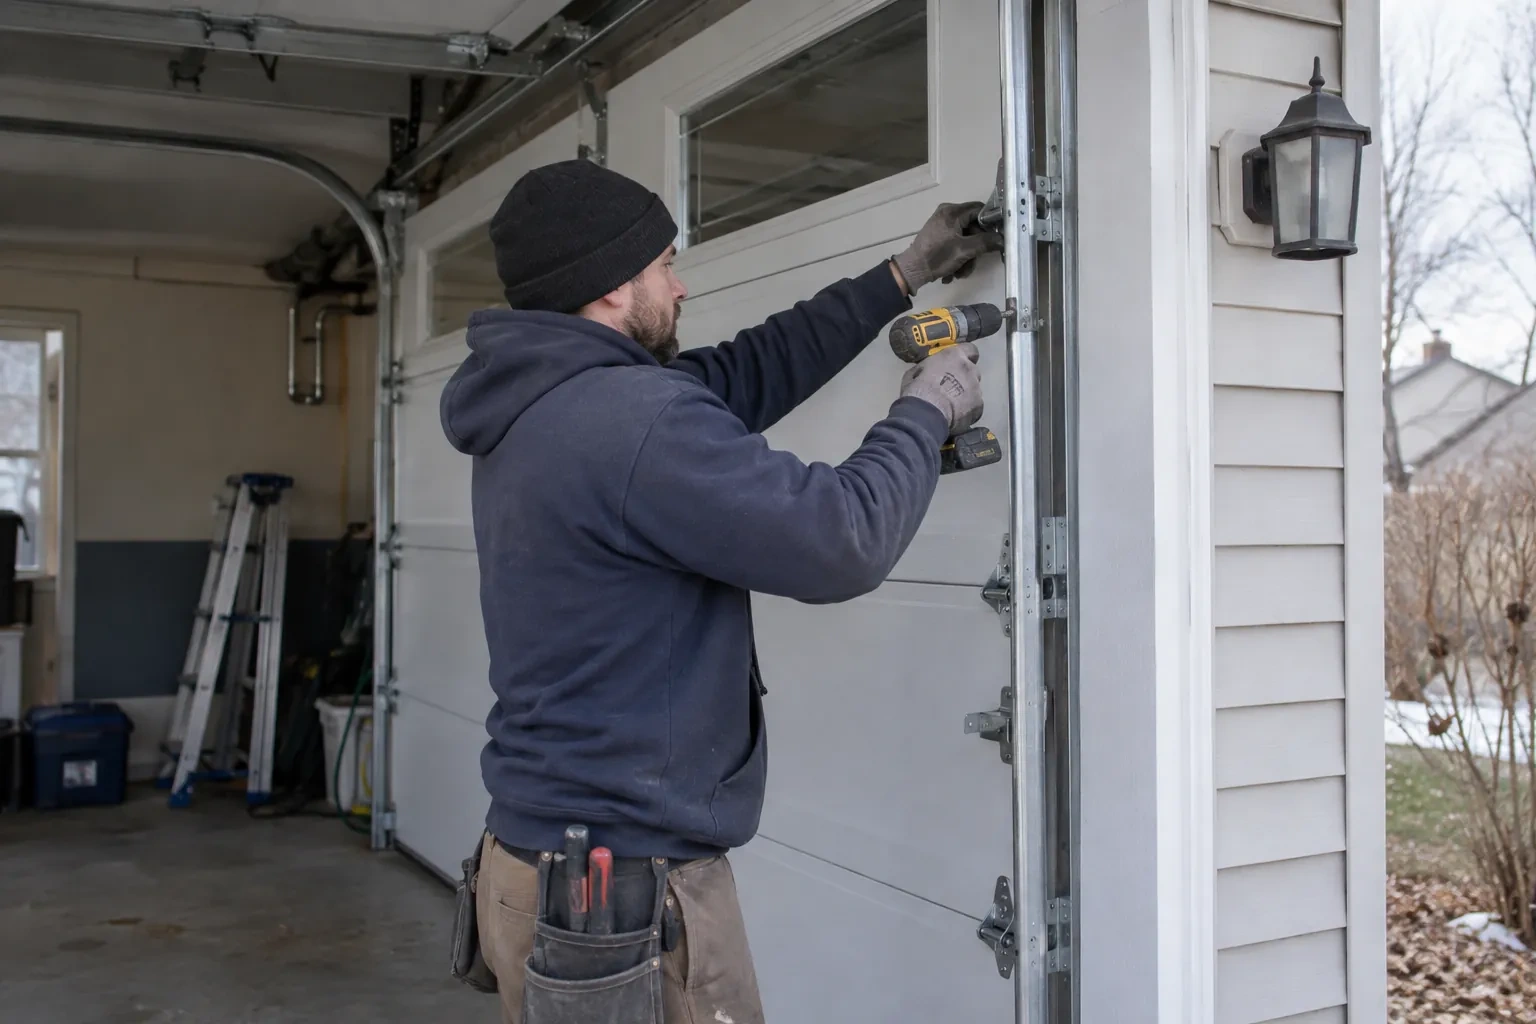
Garage Door Safety Inspection
What affects the quote
Torsion or extension counterbalance
Extension-spring doors add pulleys, cable clips and containment cables to the list, while torsion doors call for spring measurements at the shaft; the parts examined shape the time.
Distance to the property
Travel is part of every visit. A property across town and one at the end of a rural road involve different driving time, and the quote reflects the trip.
A retest after repairs
When the report lists repairs, a short return visit to rerun the balance, reversal and photo-eye tests once the work is done is quoted as its own item.
What to have ready
- When was the door last serviced, and do you have the paperwork?
- How many doors need inspecting, and are they all at the same address?
- Does the door sound or move differently going up than coming down?
Garage Door Safety Inspection: questions
QuestionsWhat are photo eyes, and how are they tested?
They are the two small sensors low on each side of the opening, one sending a beam and the other receiving it. The technician confirms both indicator lights hold steady, that the units sit at the height the opener maker specifies, and that the lenses are clean and the wiring secure. Then a close cycle is started and something is passed through the beam; the door should reverse. Misalignment or a grimy lens is corrected on the spot.
Will you tell me if the door should not be used?
Yes, plainly and at the door. A slack or frayed cable, a gap in a spring coil, a door hanging crooked, a bracket pulling out of the framing or an opener that fails the reversal test are the kinds of findings that put an item in the stop-use group. When that happens you see the reason yourself, the door is left resting in a safe spot with the opener unhooked, and the fix is written up and quoted so it can be booked.
Is the inspection a repair visit?
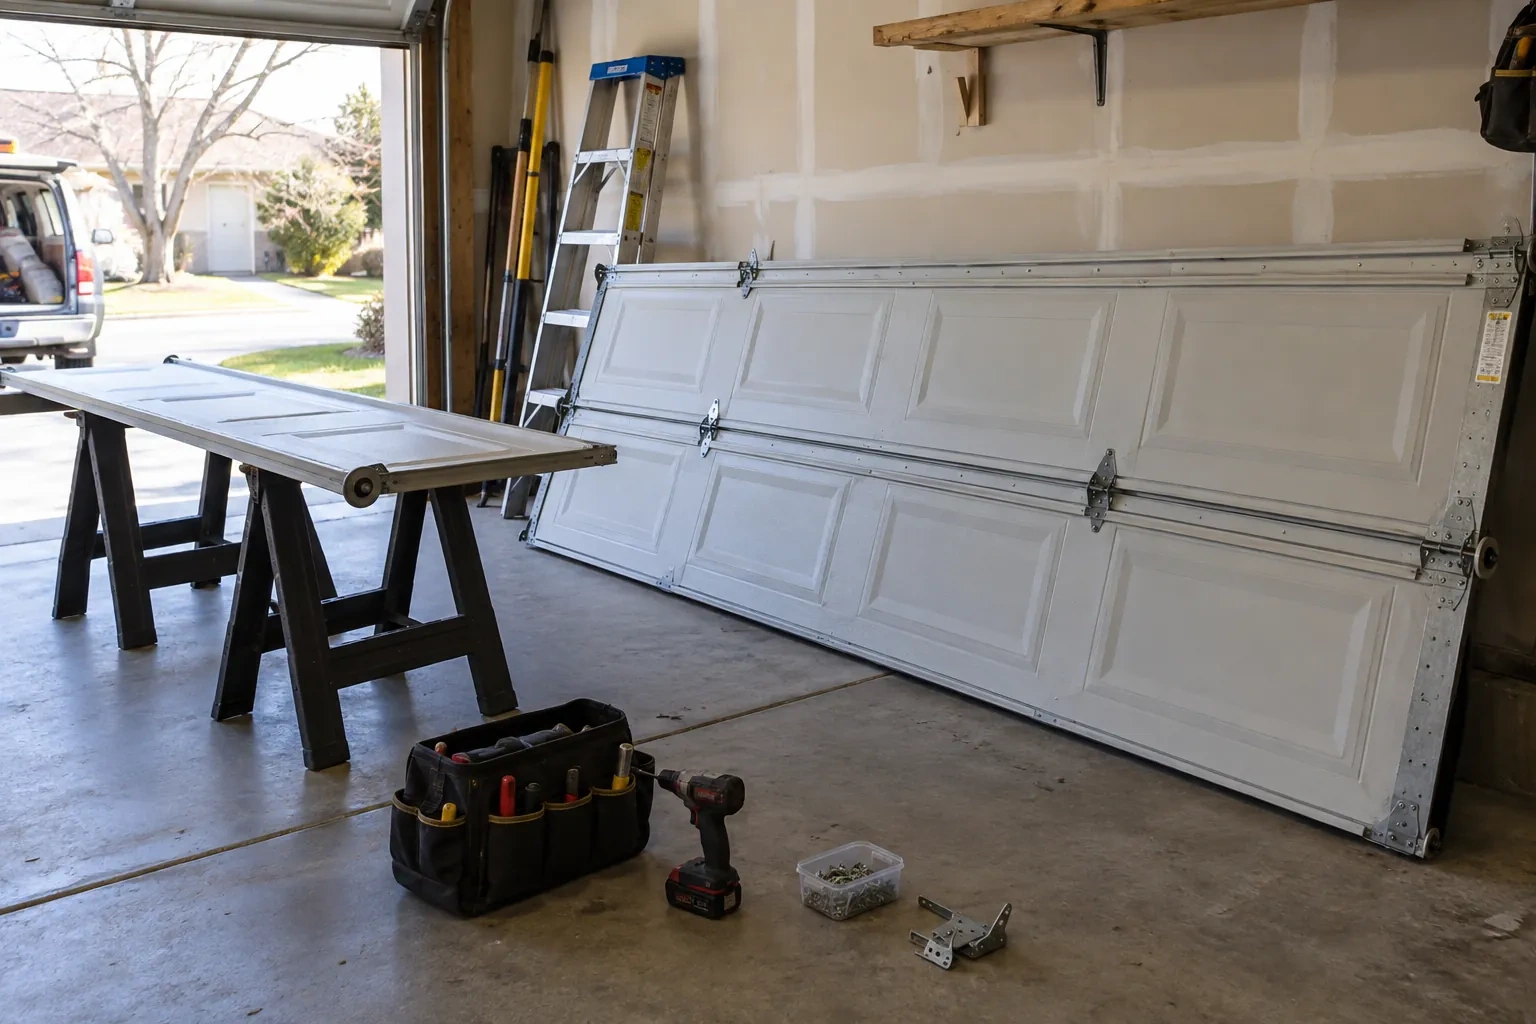
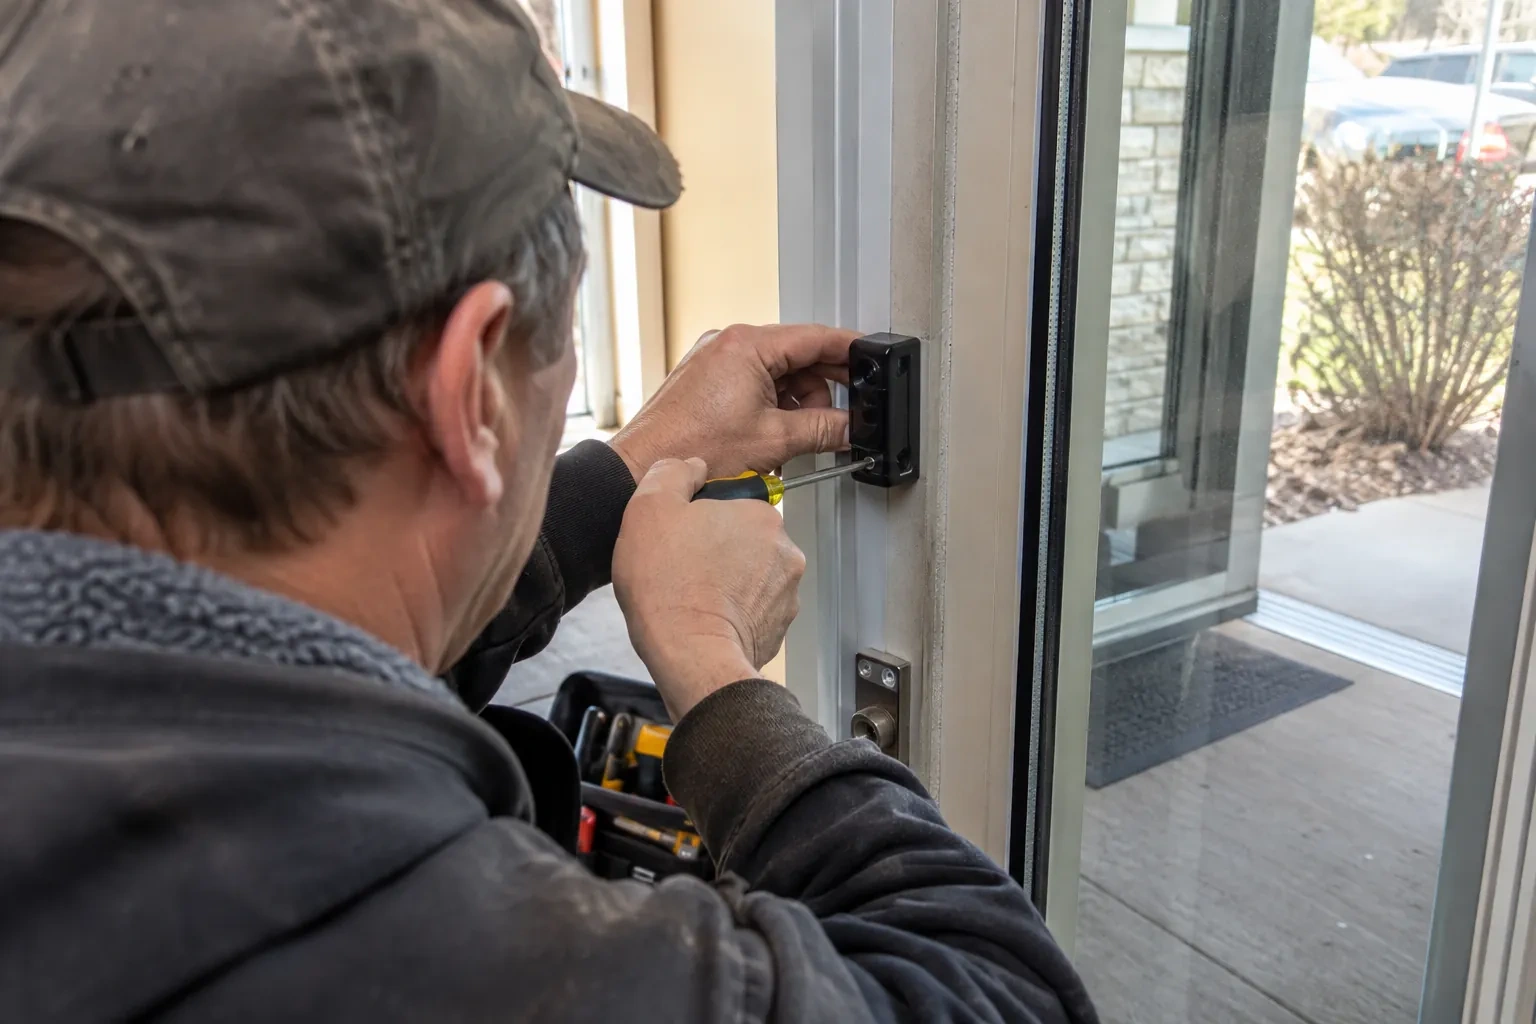
It is a look and a record first. Small maintenance items such as lubrication, cleaning and aligning the photo eyes and tightening fasteners can be done on the spot if you wish. Anything involving spring tension, cables, drums, worn rollers or damaged sections is written up with a clear explanation and quoted as its own job, so you decide with the full picture in front of you.
Related services
- Off-Track Garage Door ResetThe door came down fine but with a scraping noise, and now the vertical track on one side is bowed away from the wall.
- Garage Door Panel ReplacementYears of slap shots have peppered the lower two sections with dents.
- Garage Door Bottom Seal ReplacementAfter a spring rain there is a puddle inside the door that reaches the tires.