Repairs · Walsingham
Garage Door Bottom Seal Replacement in Walsingham
After a spring rain there is a puddle inside the door that reaches the tires.
In plain words
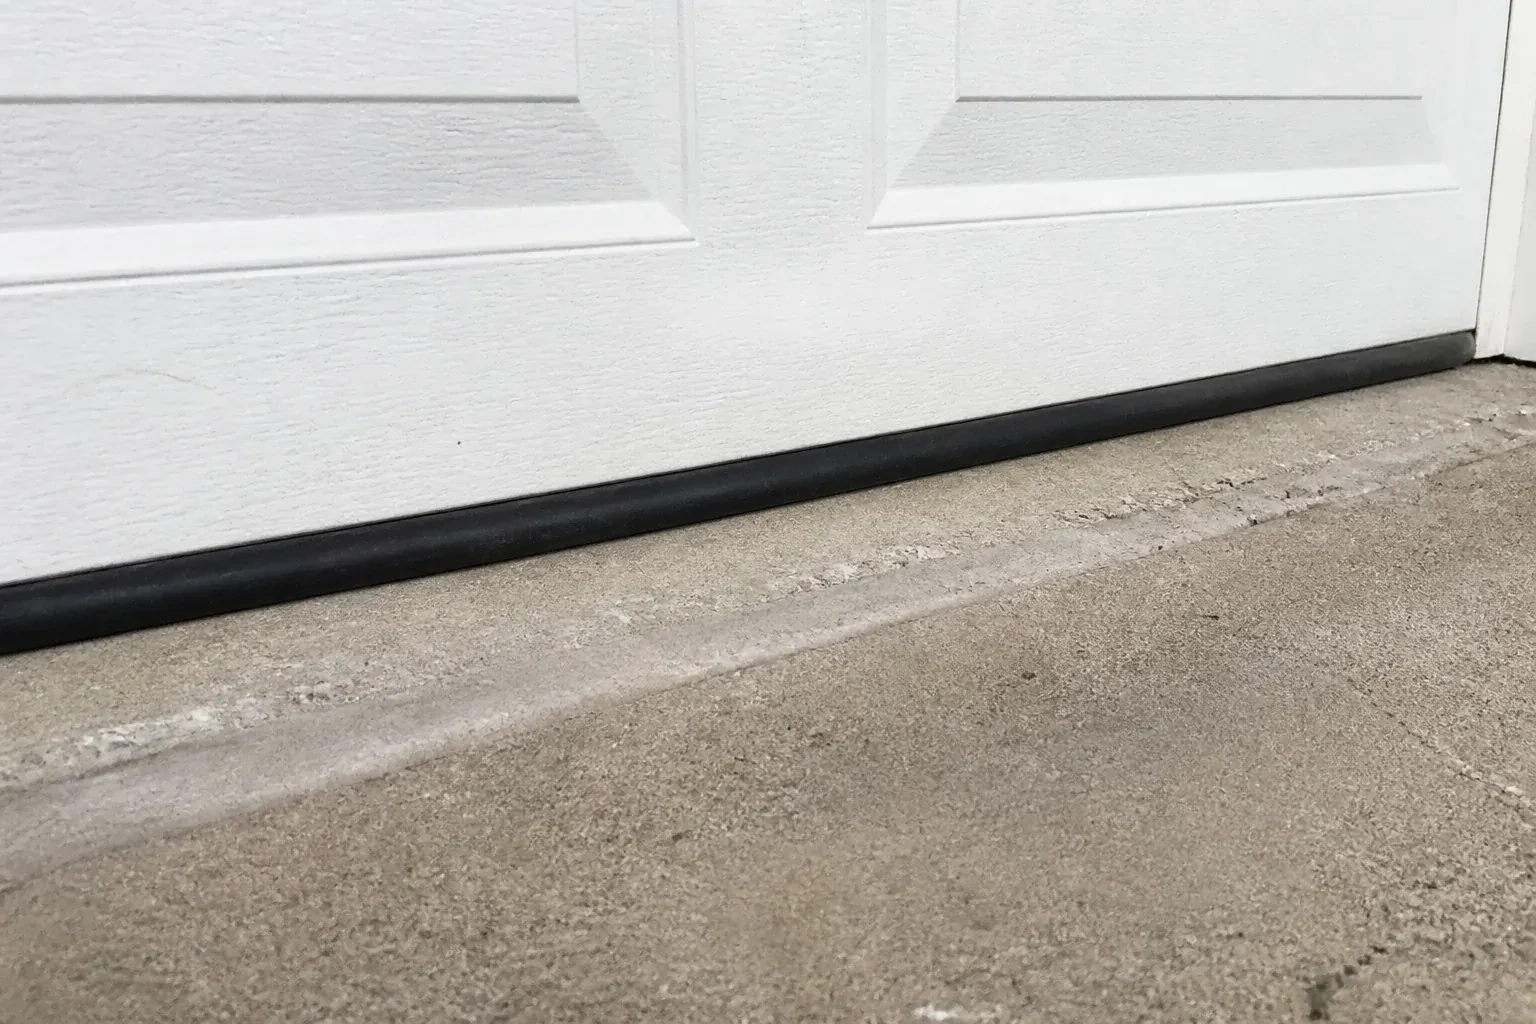
What you have afterwards is a door that closes onto a single soft line of contact from jamb to jamb. Daylight under the door is much reduced, the draft across the floor eases, wind-blown leaves and snow are kept out more effectively, and the tighter gap makes the route in harder for mice. The opener has been reset so the door lands gently on the new strip instead of pressing it flat. You also leave knowing the seal's profile and size, which makes the next replacement a matter of one phone call, and a couple of simple habits for winter that keep the new seal from freezing to the floor.
How the visit goesAfter a spring rain there is a puddle inside the door that reaches the tires. The driveway slopes toward the garage, the slab has a low corner, and the flattened old seal is not making up the difference.
Garage Door Bottom Seal Replacement
How the visit goes
Retainer condition and fasteners
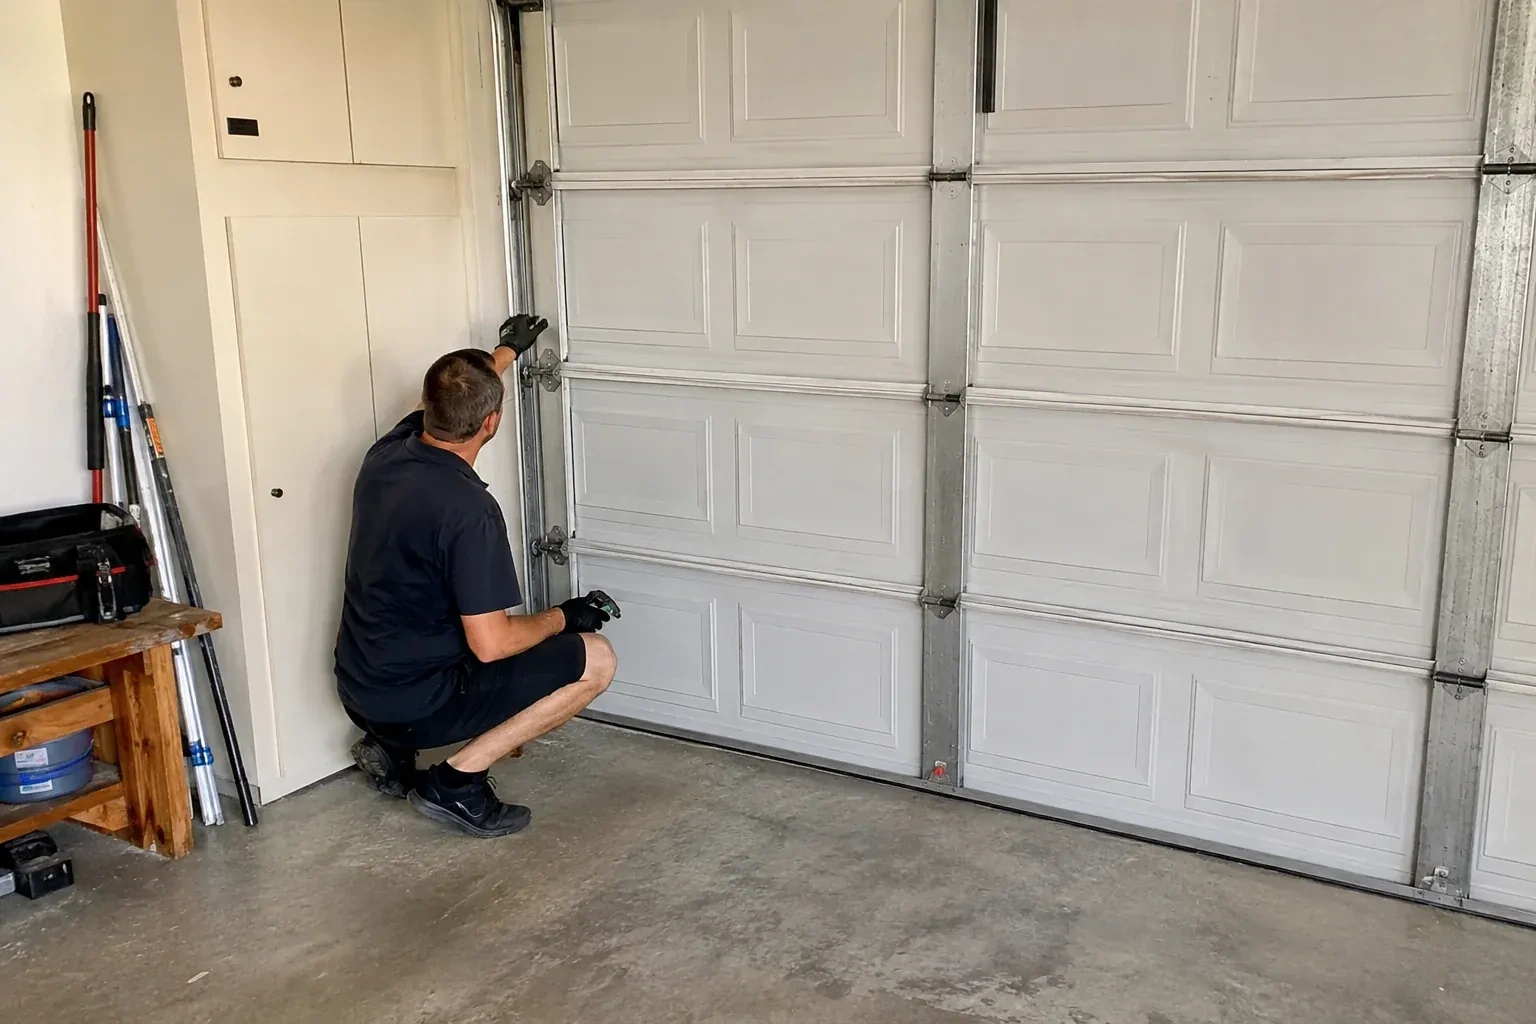
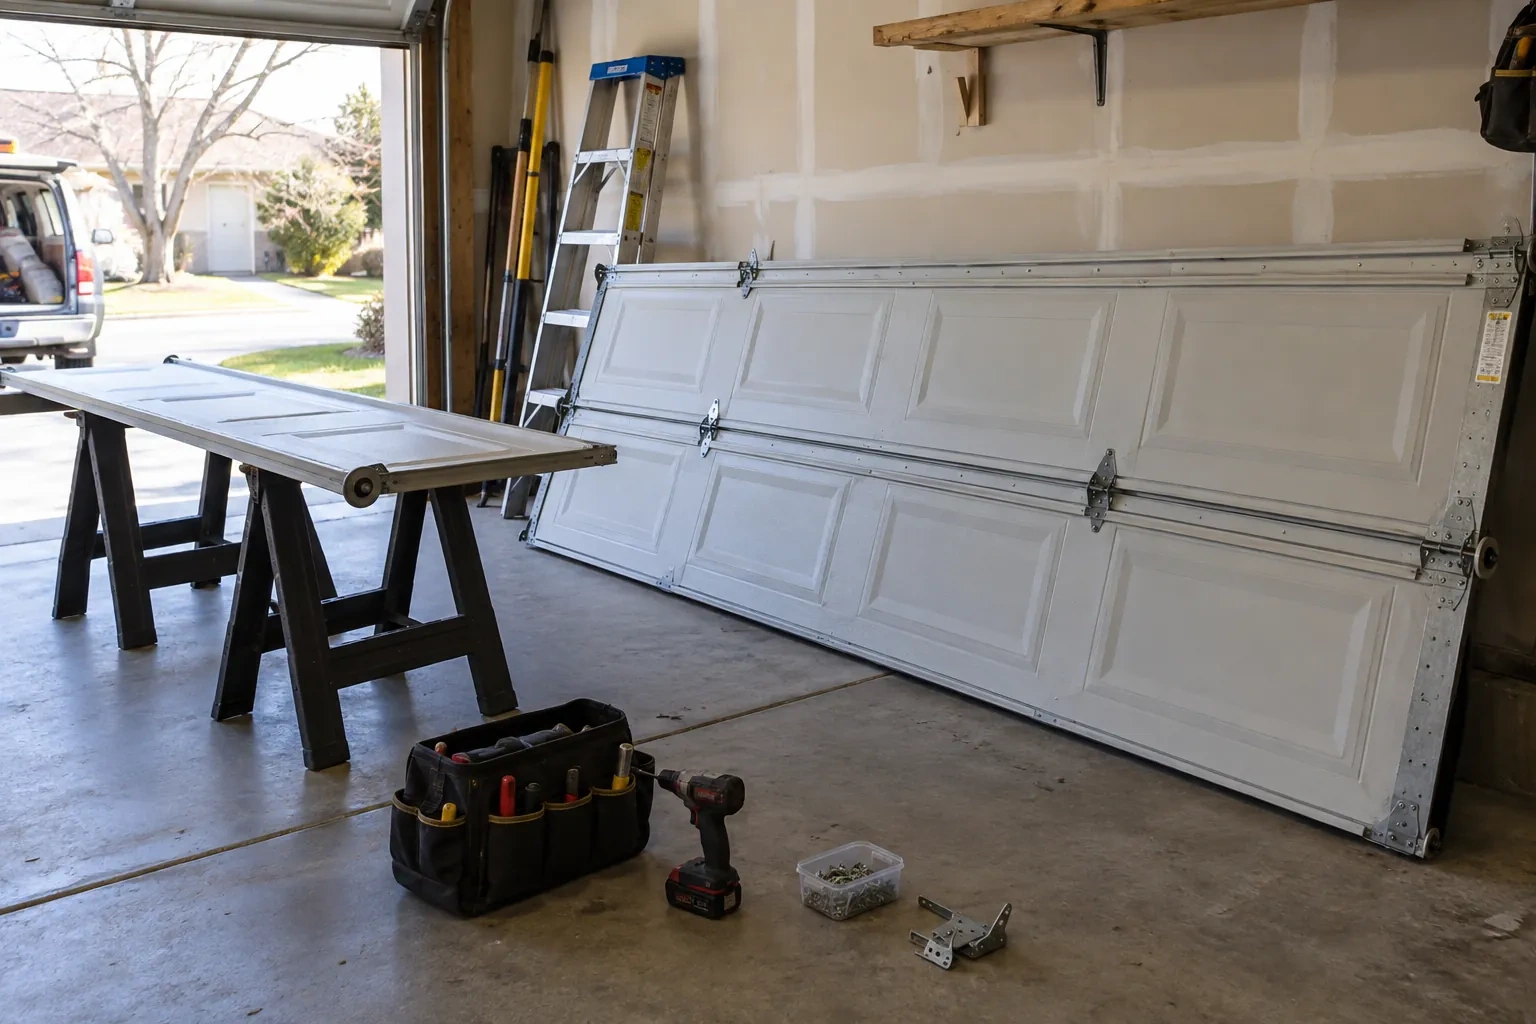
The aluminum or plastic retainer that grips the seal is inspected along its full length. The technician looks for kinks where something struck it, channels that have been spread open, corrosion where salt has sat, and screws that have rusted or pulled loose from the rail. A retainer that is straight and tight is reused; one that is damaged is measured for a matching replacement so both channels line up with the new seal. On doors where the retainer is part of a plastic bottom cap, a cracked cap is noted and a screw-on aluminum retainer is offered as the practical repair.
Adding a threshold seal on a difficult floor
Where the slab slopes toward the garage or has a dished edge, a threshold seal glued to the floor follows the existing contour and gives the bottom strip a raised, consistent edge to meet, rather than levelling the floor itself. The floor line is marked with the door closed, the concrete is swept and cleaned for the adhesive, and the threshold is dry-fitted and trimmed against each jamb. Adhesive is laid along the underside, the threshold pressed down, and the door lowered onto it while it sets. The result is a small raised lip on the outside that turns water back to the driveway and a bottom seal that lands on a consistent edge along its length.
The rest of the weather line
With the bottom sealed, any remaining draft points to the perimeter: the vinyl fin on the stop moulding at the jambs and header, and the joints between sections. These were looked over during the visit and anything torn, shrunk or missing was pointed out. Replacing perimeter stripping is straightforward work that can be planned for a mild day. Together with a sound bottom seal and, where the floor calls for it, a threshold, the garage gains a stronger barrier against wind, water and cold on all four edges, and an attached garage can stay closer to the temperature of the house.
Garage Door Bottom Seal Replacement
In the van
T-style bottom seal
Aluminum bottom seal retainer
Straightedge and tape measure
Bead-style bottom seal
Seal end caps
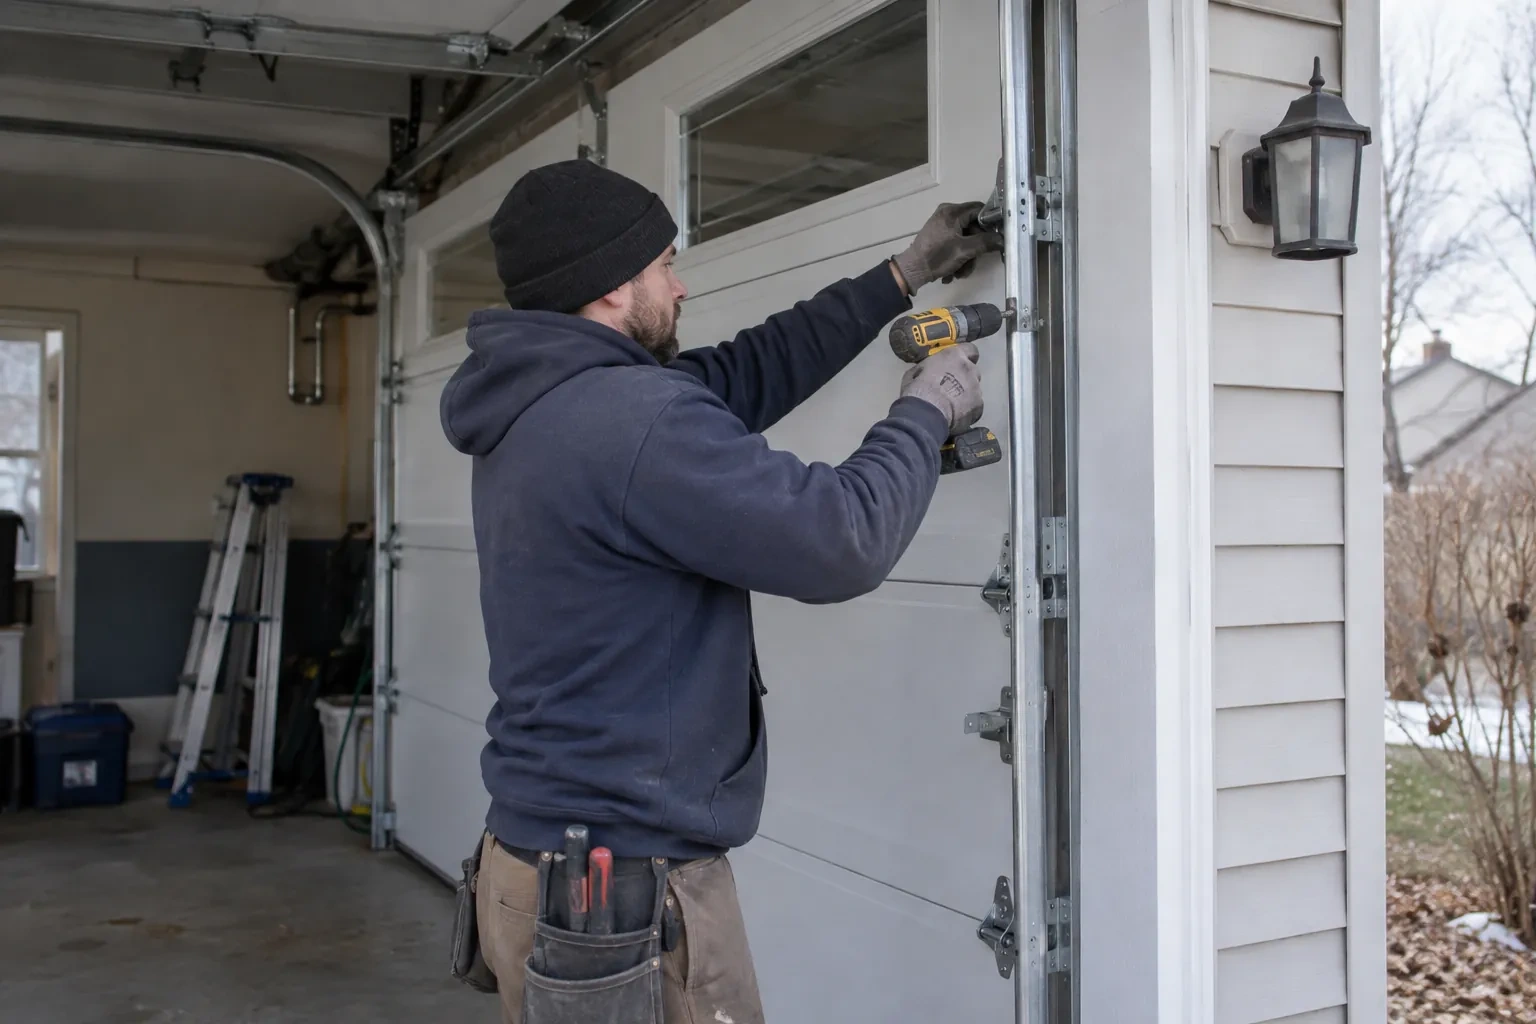
Garage Door Bottom Seal Replacement
What affects the quote
Access and clearance
Storage, a vehicle that must stay inside, or shelving against the bottom of the door slows the work. A clear metre inside the door makes the visit shorter.
Number of doors
Two single doors are two seals, two inspections and two opener resets. The travel is shared, so doing both in one visit costs less than two separate calls.
Door width
A single door takes a shorter length of seal than a double, and the widest doors need more time to feed the strip evenly across. The quote starts from the width measured on the day.
What to have ready
- Is the door steel, wood, or insulated with a plastic bottom cap?
- Is the gap even across the door, or worse at one end or in the middle?
- Is the door a single or a double, and roughly how wide?
Garage Door Bottom Seal Replacement: questions
QuestionsWhy does the seal freeze to the floor, and what should I do when it does?
Snow melts off the car, runs to the low point at the door and refreezes overnight around the seal. When that happens, leave the remote alone, since the opener will tear the strip or pull the door out of level. Free the seal by hand with gentle warmth along the line or by working a plastic scraper under it, then run the door. A film of silicone on the seal each autumn largely prevents it.
Is this something I can do myself?
Many homeowners do, and a technician's value lies in the parts that go wrong: identifying the exact profile so the seal seats, freeing a strip that has fused into its channel, spotting a retainer or door-level problem behind the gap, and resetting the opener's limit and force so the door lands gently and still reverses on an obstruction. If you would rather have it measured, fitted and tested in one go, that is what the visit is for.
Will I need a new retainer as well as a seal?
Only if the existing one is damaged, and most are reused. A retainer that is straight, tight to the rail and free of heavy corrosion stays. One that has been kinked by a bumper or shovel, spread open so the seal slips out, or eaten by salt is replaced with a matching aluminum extrusion so the new seal seats properly. The inspection at the start of the visit settles which applies.
Related services
- Garage Door Tune-UpThe door lands with a thud you can feel through the kitchen floor, and sometimes it bounces back up a few centimetres before settling.
- Off-Track Garage Door ResetThe door came down fine but with a scraping noise, and now the vertical track on one side is bowed away from the wall.
- Garage Door Panel ReplacementYears of slap shots have peppered the lower two sections with dents.